
By Desmond Miller
Sewing a Button.
Tools required: Sewing needle, thread, chalk, button. 1) On the fabric, mark the placement of your button using chalk.2) Take some thread, about 60 centimeters long, and guide it through the needle head. Tie a knot on the long end. From the wrong side of the fabric, push the needle through to the right side and back to the wrong side. Repeat twice to secure the thread.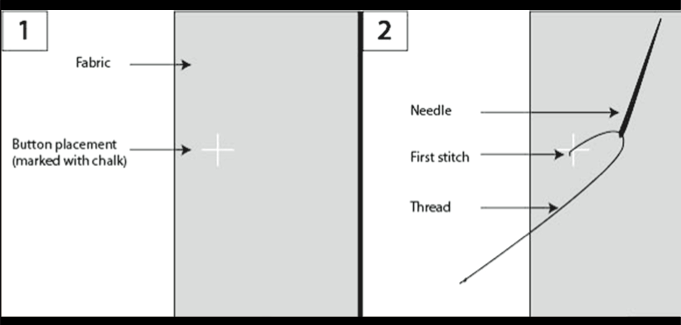 3) Place button on top of the chalk mark from step 1.4) Push needle from wrong side to right side, passing through the top right buttonhole. Push needle through bottom left buttonhole and to the wrong side of the fabric. Leave thread loose, allowing button to move about 0.5 centimeters away from the fabric. Repeat 3 times. Repeat 3 more times, from top left button hole to bottom right buttonhole creating an “X” pattern.
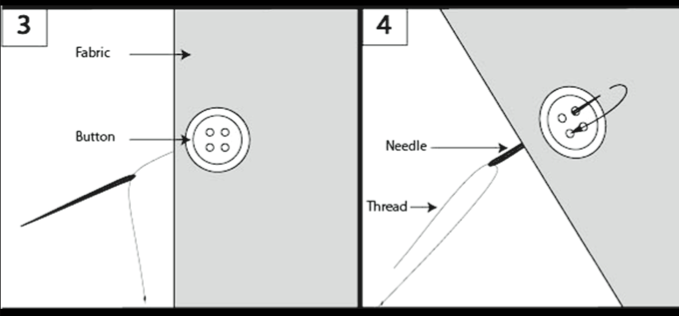 5) Bring needle to right side of fabric and pull taught on wrong side of fabric. Wrap thread around the small shank* you have created between the button and fabric. Wrap thread around 5 times.6) Push needle through the shank and tie a knot. Clip any excess thread as close to the knot as possible.
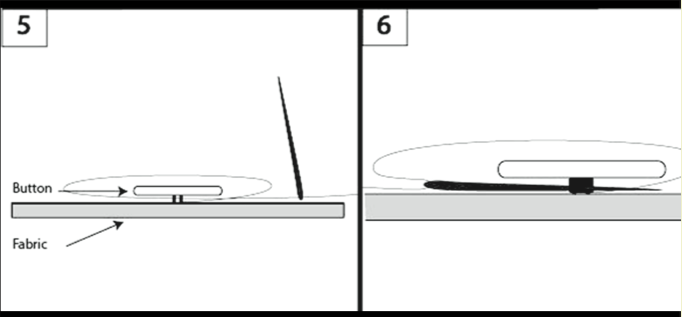 7) You have a brand new working button!
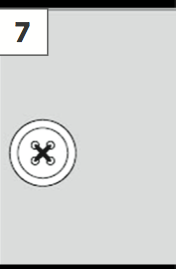 *A shank is a small neck made from passing thread through the fabric multiple timesStay tuned to our next issue to learn more hand sewing techniques, and e-mail us at info@downsviewadvocate.ca with your hand sewing technique requests.